Have you ever spent hours on a beautiful satin stitch, only to find that once you release the fabric from the hoop, your hard work looks… wobbly?
It is a common heartbreak in the embroidery world. We love the smooth, shiny finish of the satin stitch, but it has a secret: it wasn’t meant for large spaces. Satin stitch works best in small, controlled areas. When you try to stretch it across a large leaf or a wide petal, the tension fails, and the threads lose their way.
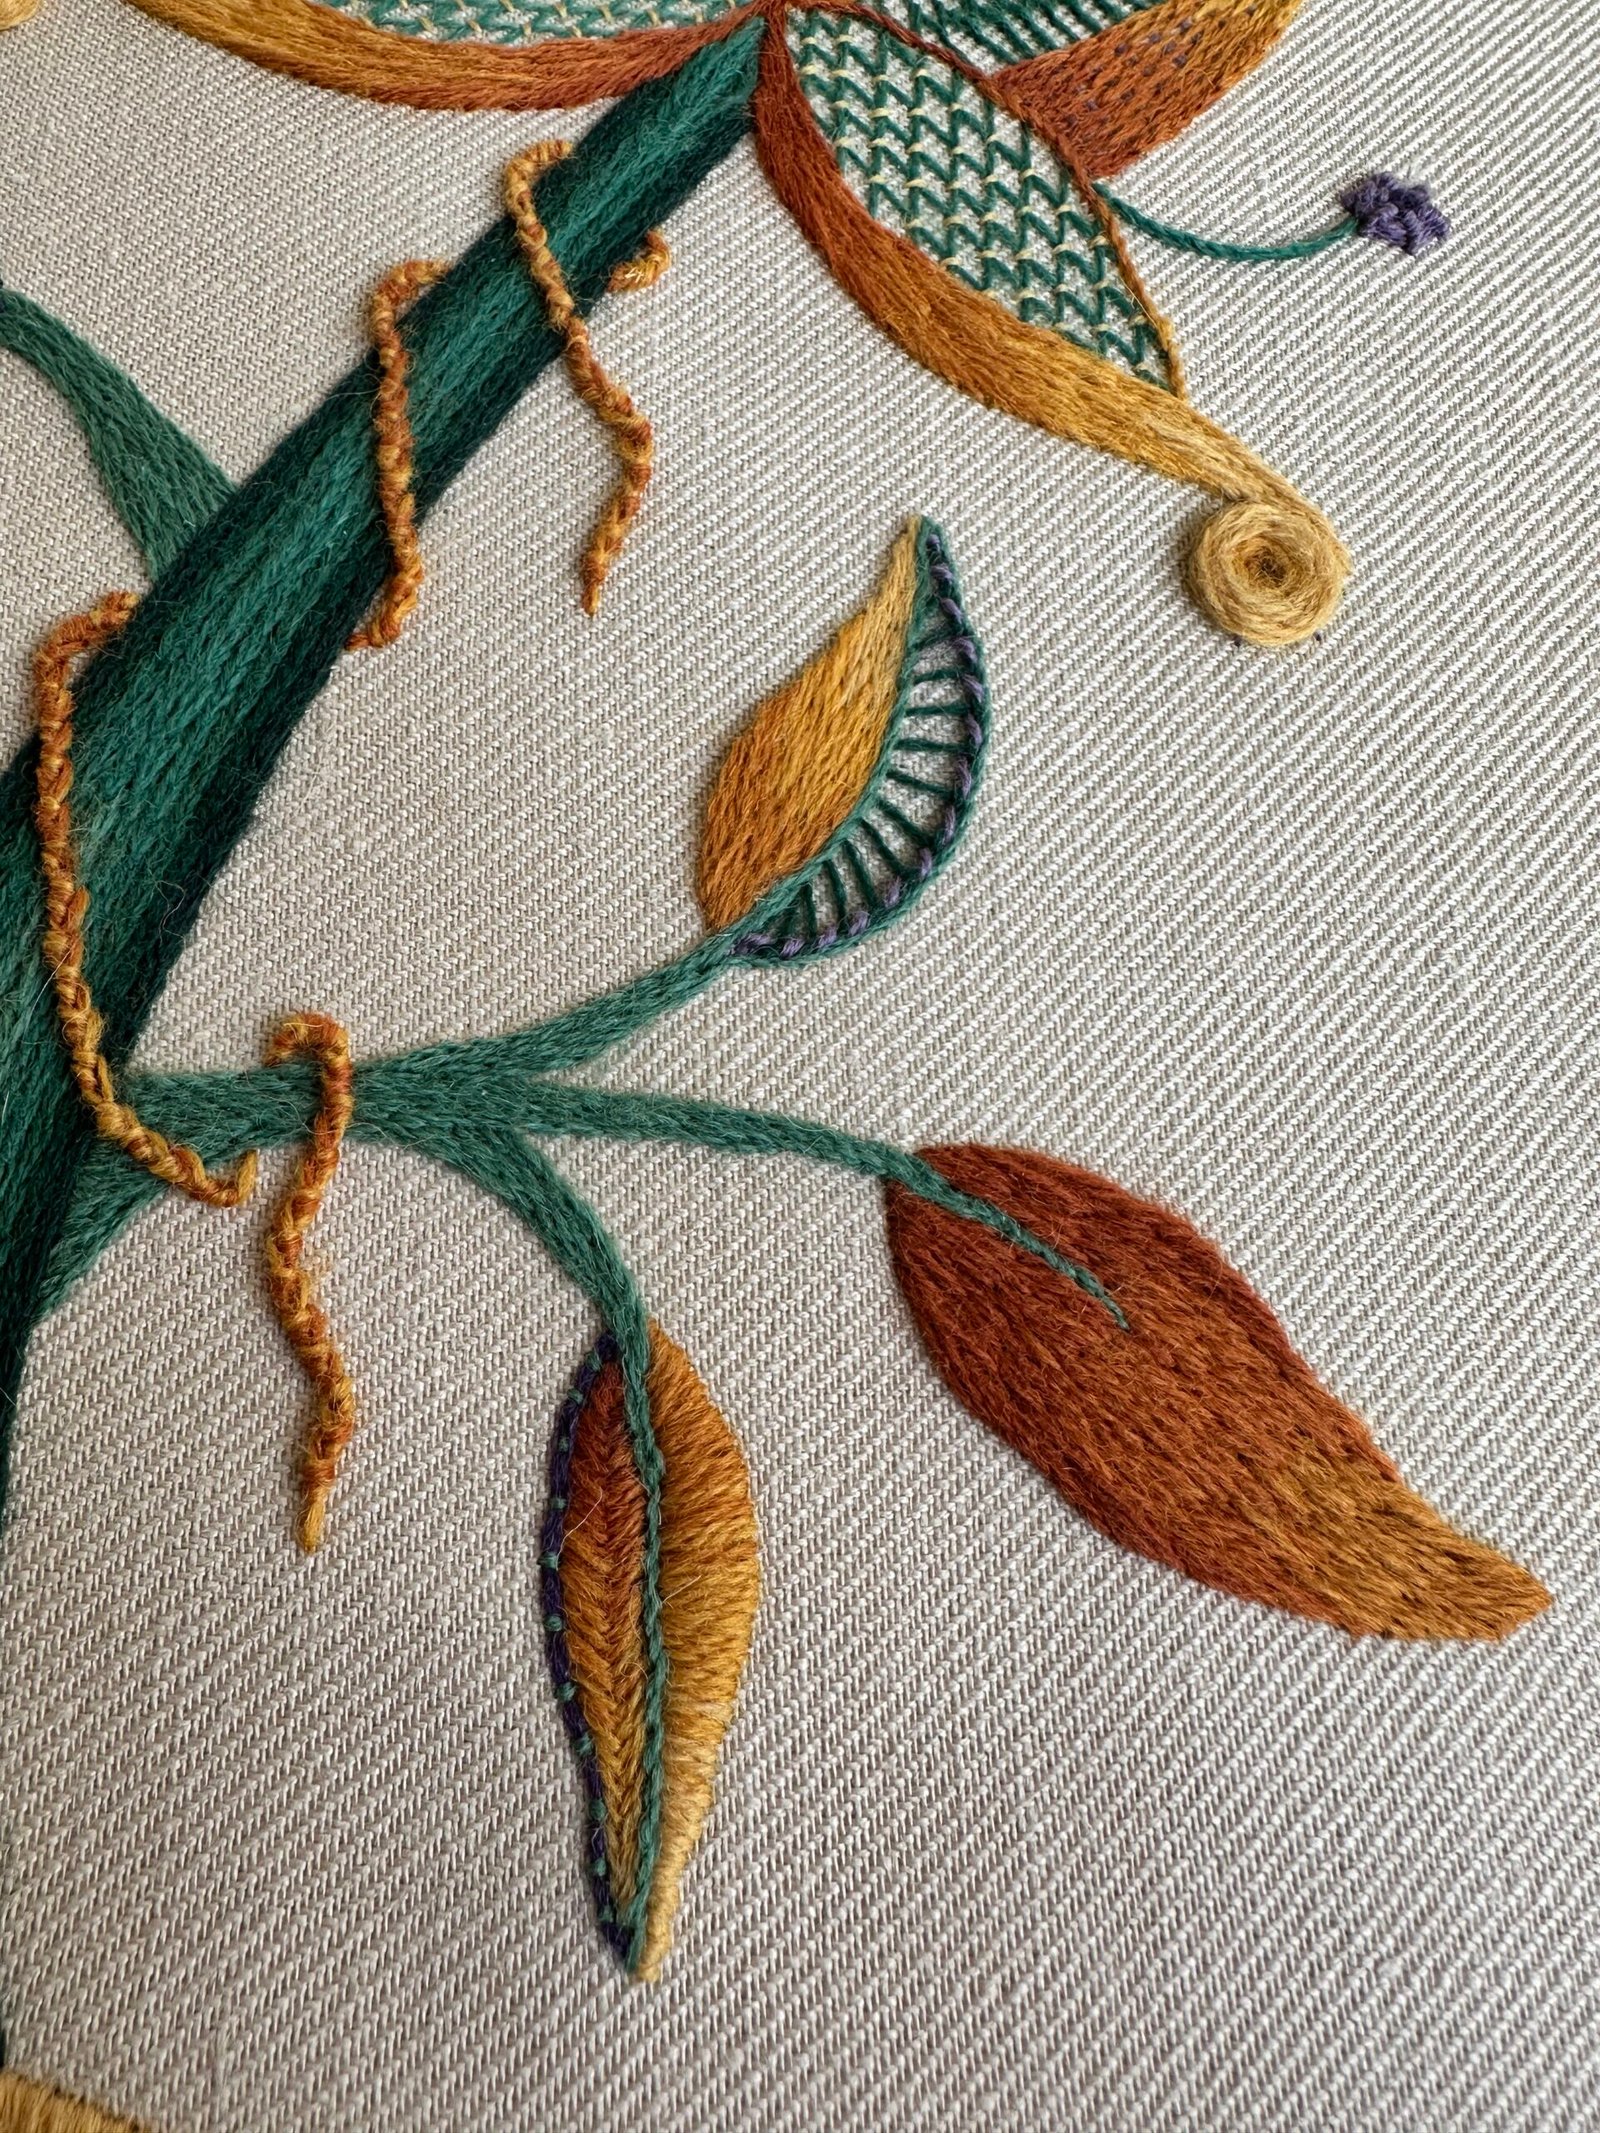
If you want to fill large shapes with “painted” detail and a professional finish, you must reach for a different stitch: The Long and Short Stitch.
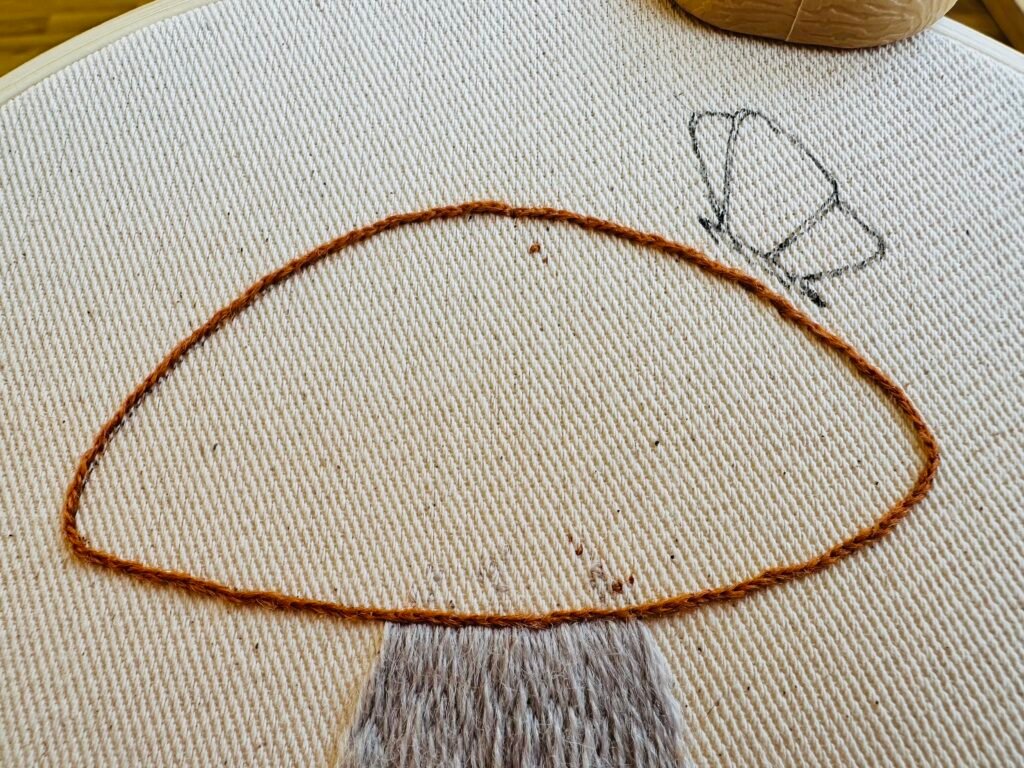
Step 1: Laying the Foundation
Before we start the “painting,” we need a solid border. I always start by split stitching the outline of the shape.
Keep these split stitches very short—about 2-3mm long. This creates a firm, slightly raised edge that acts as a guide. When we start our filling, we will stitch over this line, hiding it completely and giving your embroidery a crisp, perfect edge that won’t collapse when the hoop comes off.
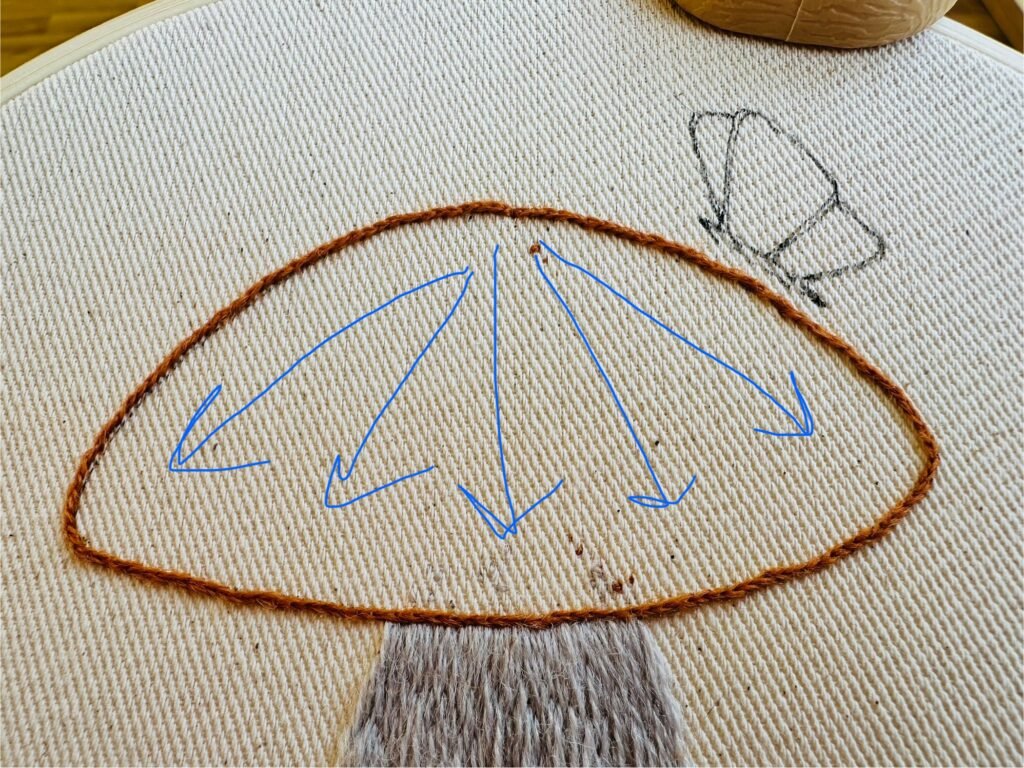
Step 2: Finding Your Direction
Long and short stitch is all about flow. Before you take your first stitch, look at your shape. Which way should the “growth” go?
I highly recommend using a pencil or heat-erasable pen to mark direction lines directly on your fabric. These act like a compass, ensuring your stitches don’t accidentally start slanting in the wrong direction as you work.
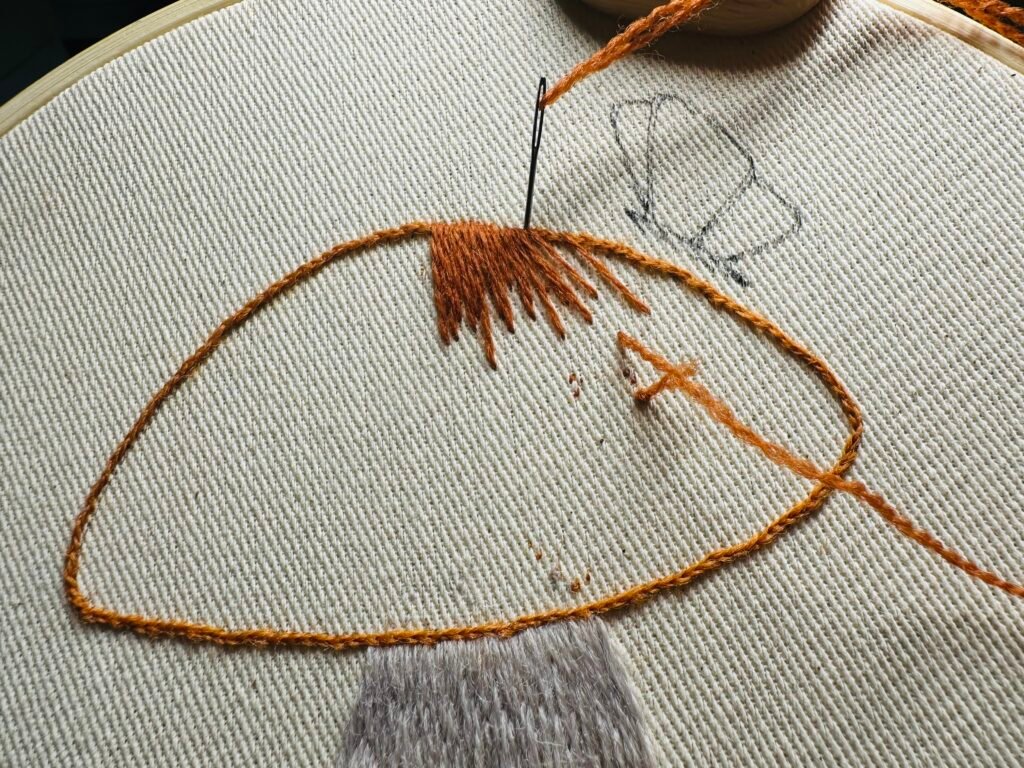
Step 3: The First Row
We begin our first row from the inside of the shape, bringing the needle down over that split-stitch outline.
The secret here is variety. Make your stitches different lengths. If you make them all the same, you will create a harsh line. By varying the lengths, you create a soft, jagged edge that invites the next row of stitches to nestle inside.
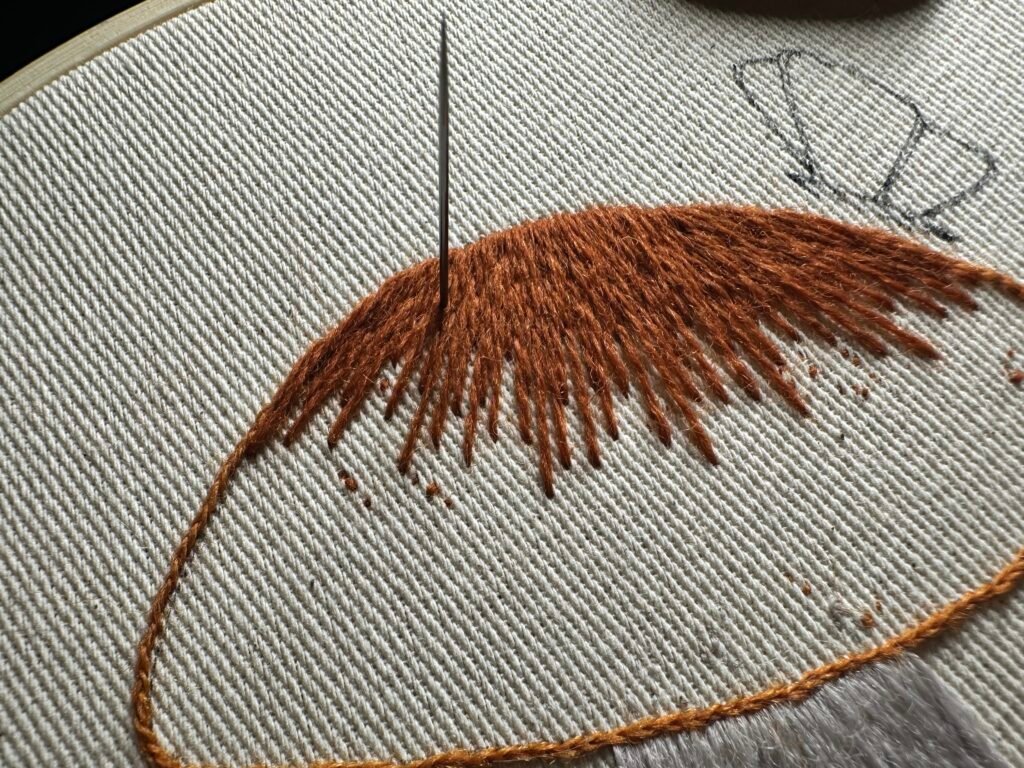
Step 4: Building the Texture
From the second row onwards, the technique changes slightly. Instead of coming up from the empty fabric, you will take your needle up through the previous stitch, literally splitting the thread of the row above. Then, bring the needle down at a random length.
By splitting the previous row’s threads, you eliminate gaps and create that seamless, needle-painted look.
Step 5: The Art of Shading
Shading is where the magic truly happens. When working with colors:
- The Blend: Work your first color, but leave some “empty” space in the row for the new shade to interlock.
- The Multi-Needle Method: I often work with several needles at once, each threaded with a different color. This allows me to alternate shades naturally.
- The Golden Rule: When using multiple needles, never leave hanging threads under your work. Always bring the thread up to the surface, away from your active area, while you work with another color. This keeps the back of your work clean and prevents tangles.
Pro Tip: Before I bring my needle down, I often lay the thread flat across the fabric to preview it. This helps me check if the direction and color are exactly where they need to be.
Step 6: Navigating the Curves
Shapes are rarely straight. When you encounter a bend or a curve, you must adapt:
- Scale Down: Make your stitches smaller to navigate the turn.
- No Crossing: Watch your direction lines carefully. Never let your stitches cross each other; they should sit side-by-side like friends, never over-lapping.
Ready to put this into practice?
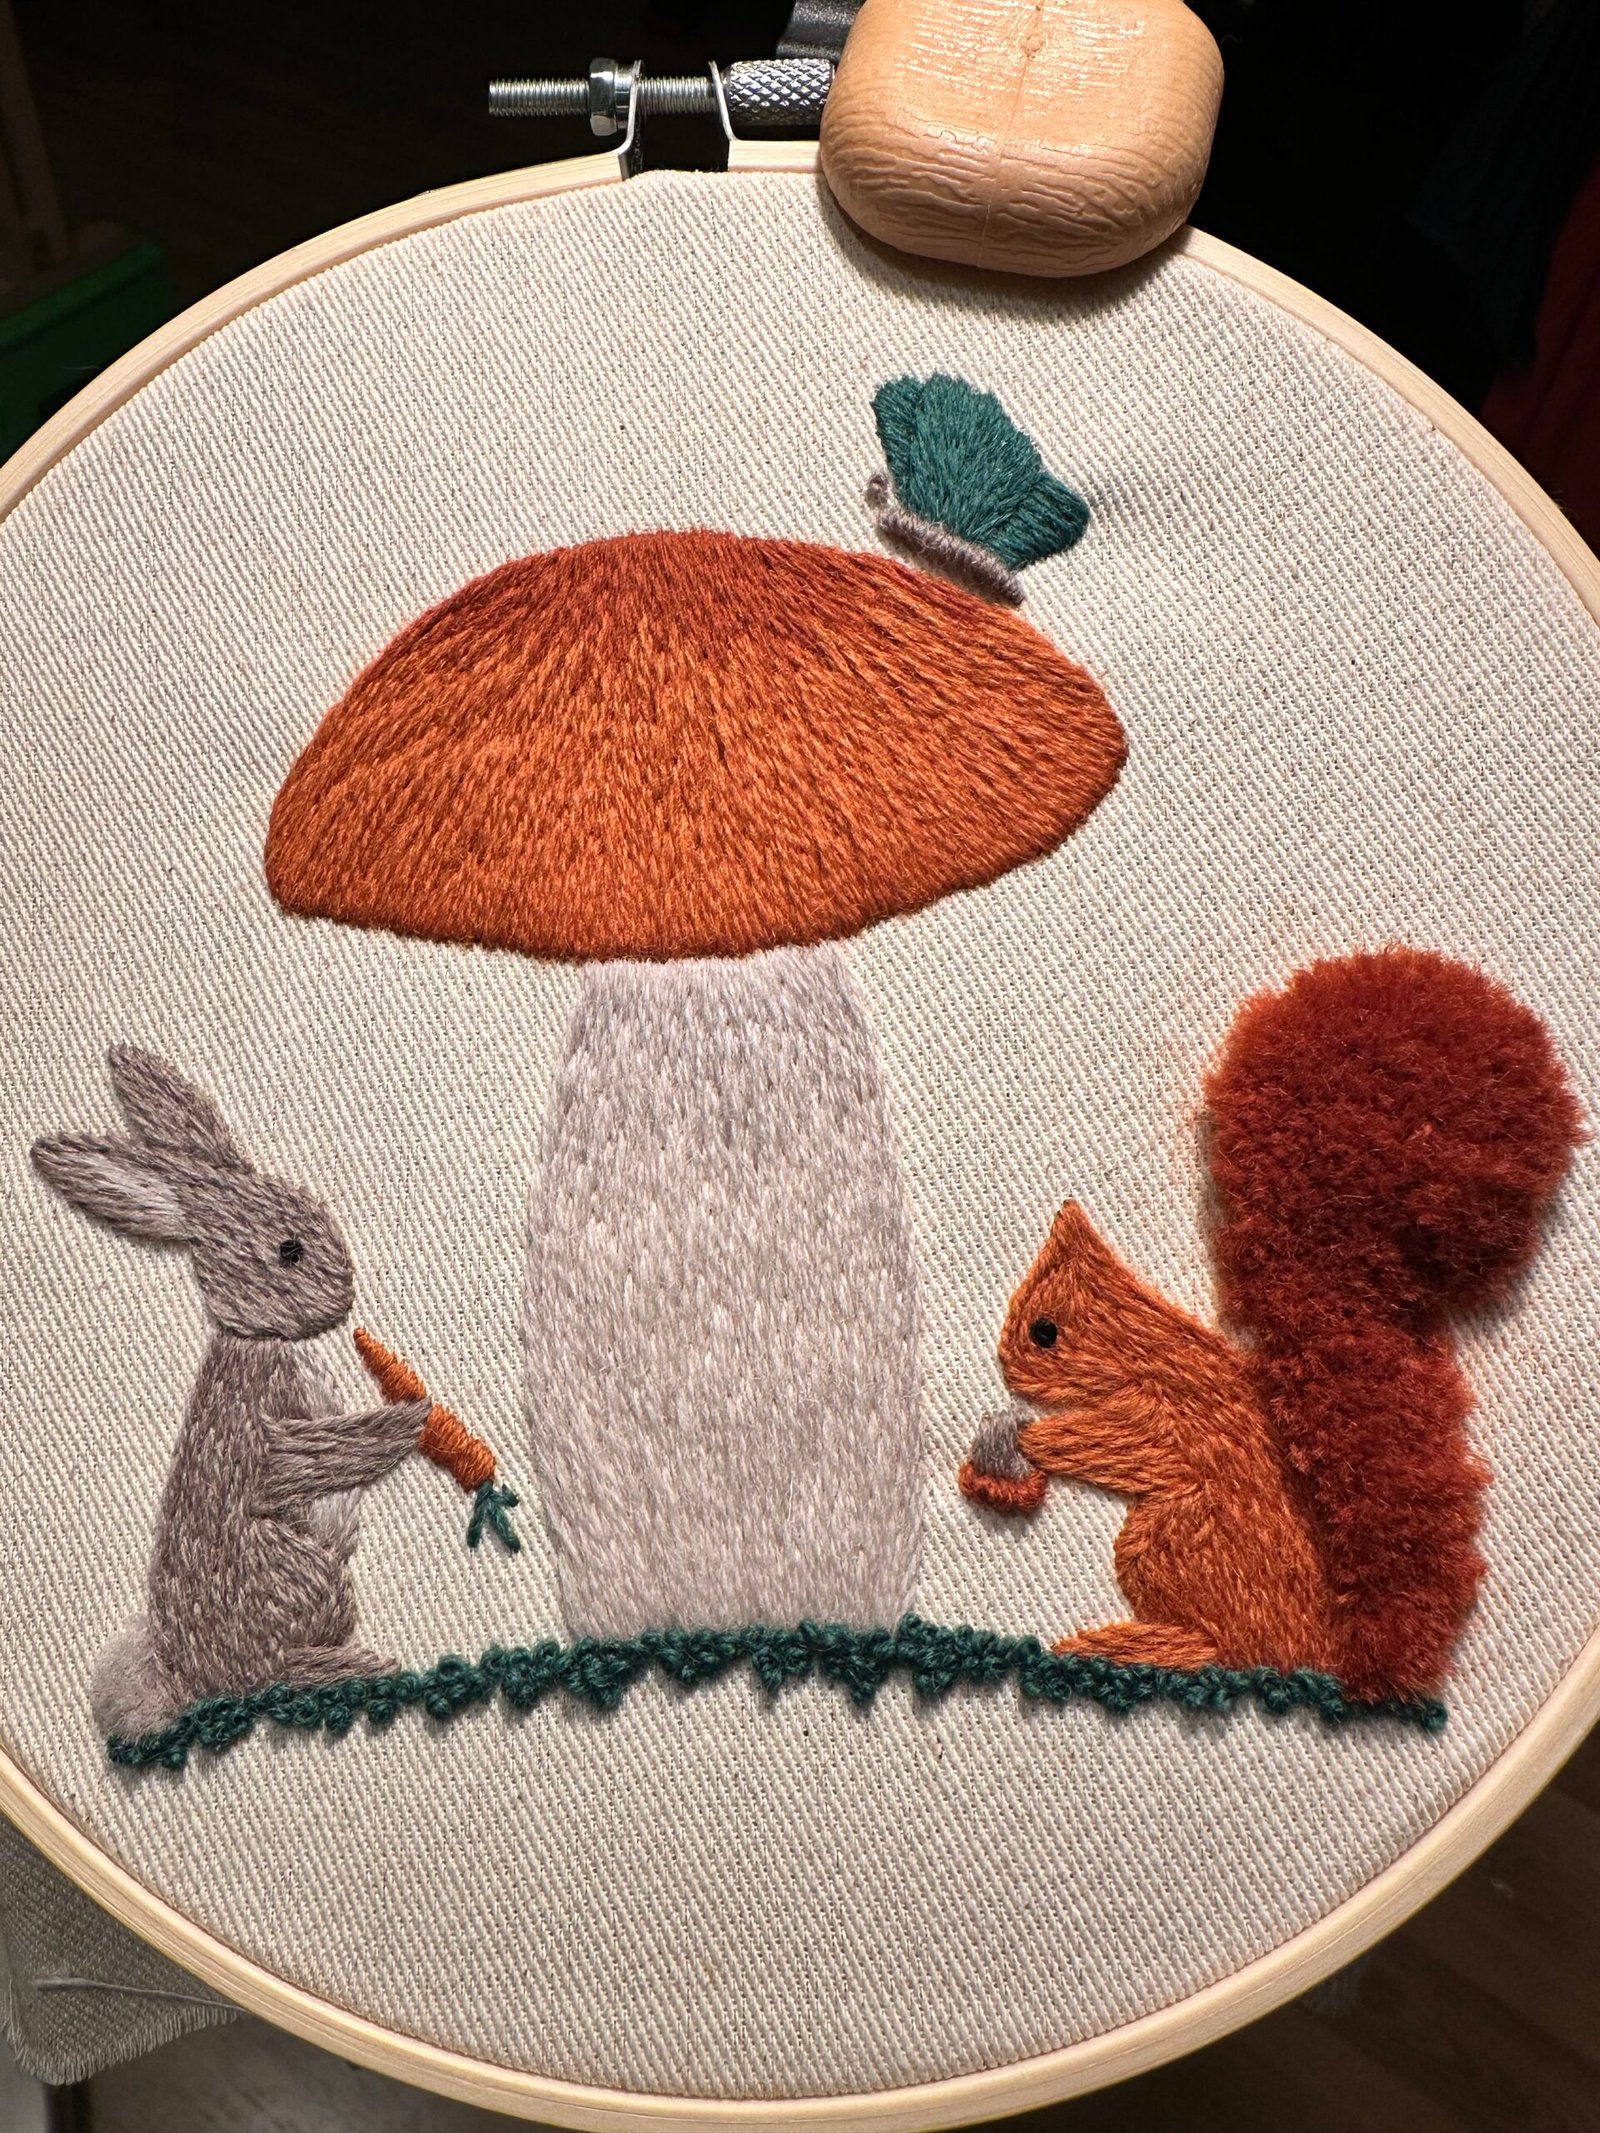
If you are ready to move from theory to the hoop, I have created a video course designed specifically for practicing these techniques. While we dive deep into the long and short stitch, the course also covers a beautiful library of other textures including the Turkish rug stitch, bullion knots, French knots, and many more.
It is the perfect way to build your confidence and master the rhythm of the needle at your own pace.